Modify Image Size
The first thing to do is scale the image down to a manageable size. Click Modify> Canvas > Image Size. In the example below, you can see this image is 2048 Pixels wide by 1536 tall (which is big).
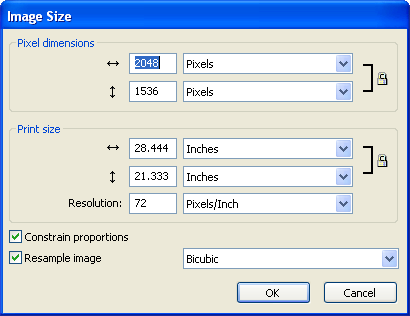
There are a few different ways we can "shrink" this image, but we are going to focus on the Pixel dimensions. By default, the proportions should be constrained (notice the lock icon on the right side of the width and height drop down lists). Constrained Proportion means if you change the width of the image, the height will change a corresponding amount to keep the image from stretching in one direction.
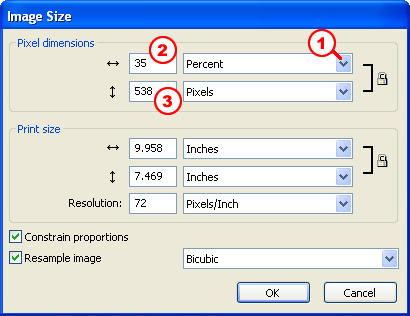
OK, I want my overall image to be between 25 and 50% of the original
- Choose Percent from the width drop-down-list
- Type 35 (no need to include the % sign)
- Notice that the Pixel Height automatically changes to 538, which is about right for my purposes
OK... this is the full sized image... not the greatest quality image, but at least a workable size:

What I REALLY want you to do now is save this "shrunken" image with a different file name! You might want the original, large image some day, so do NOT overwrite that file with this smaller image!
Click File > Save As and save a copy of this image with a meaningful name... Something like: myImage_Smaller